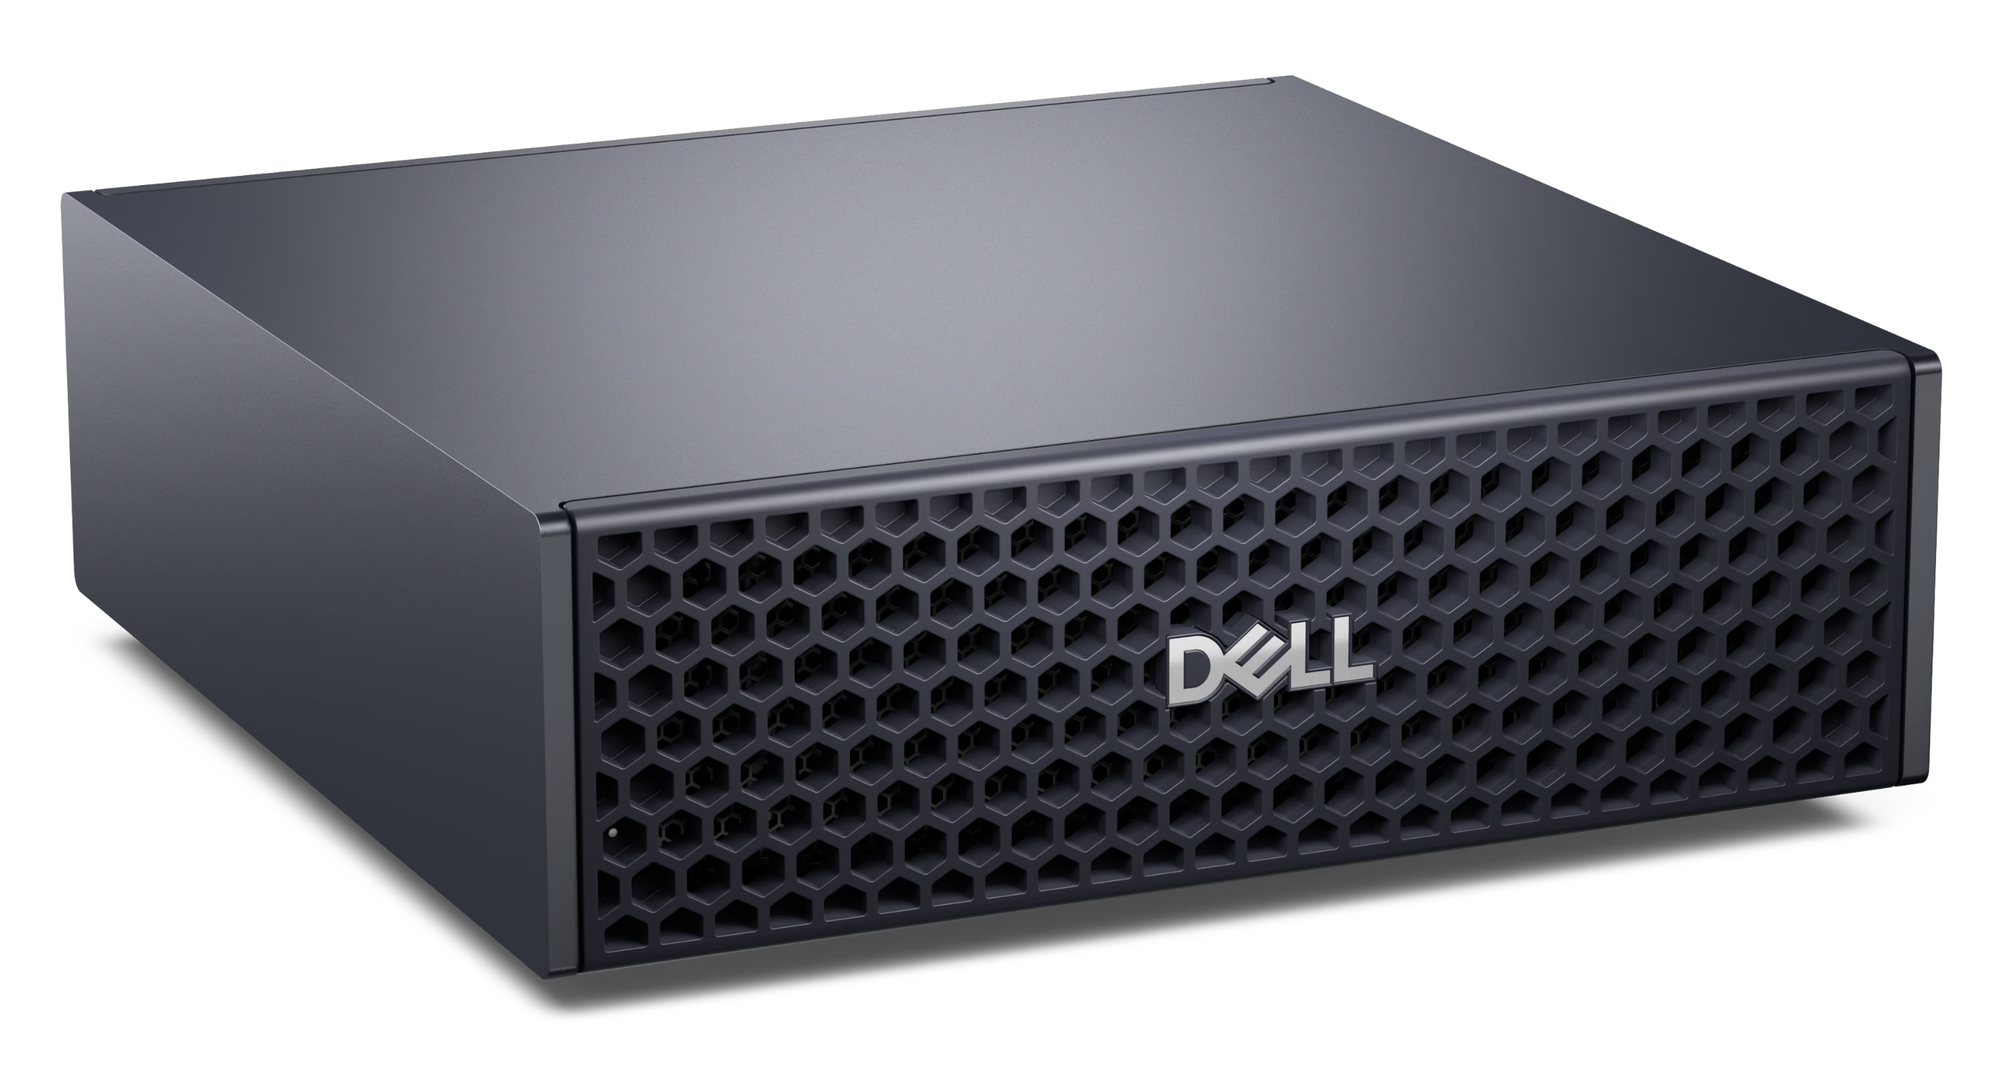
I have a Dell Pro Max with an NVIDIA GB10, which uses the DGX Spark architecture. It has 20 ARM cores, a Blackwell GPU and 128 GB of unified memory, with about 121.6 GiB usable.
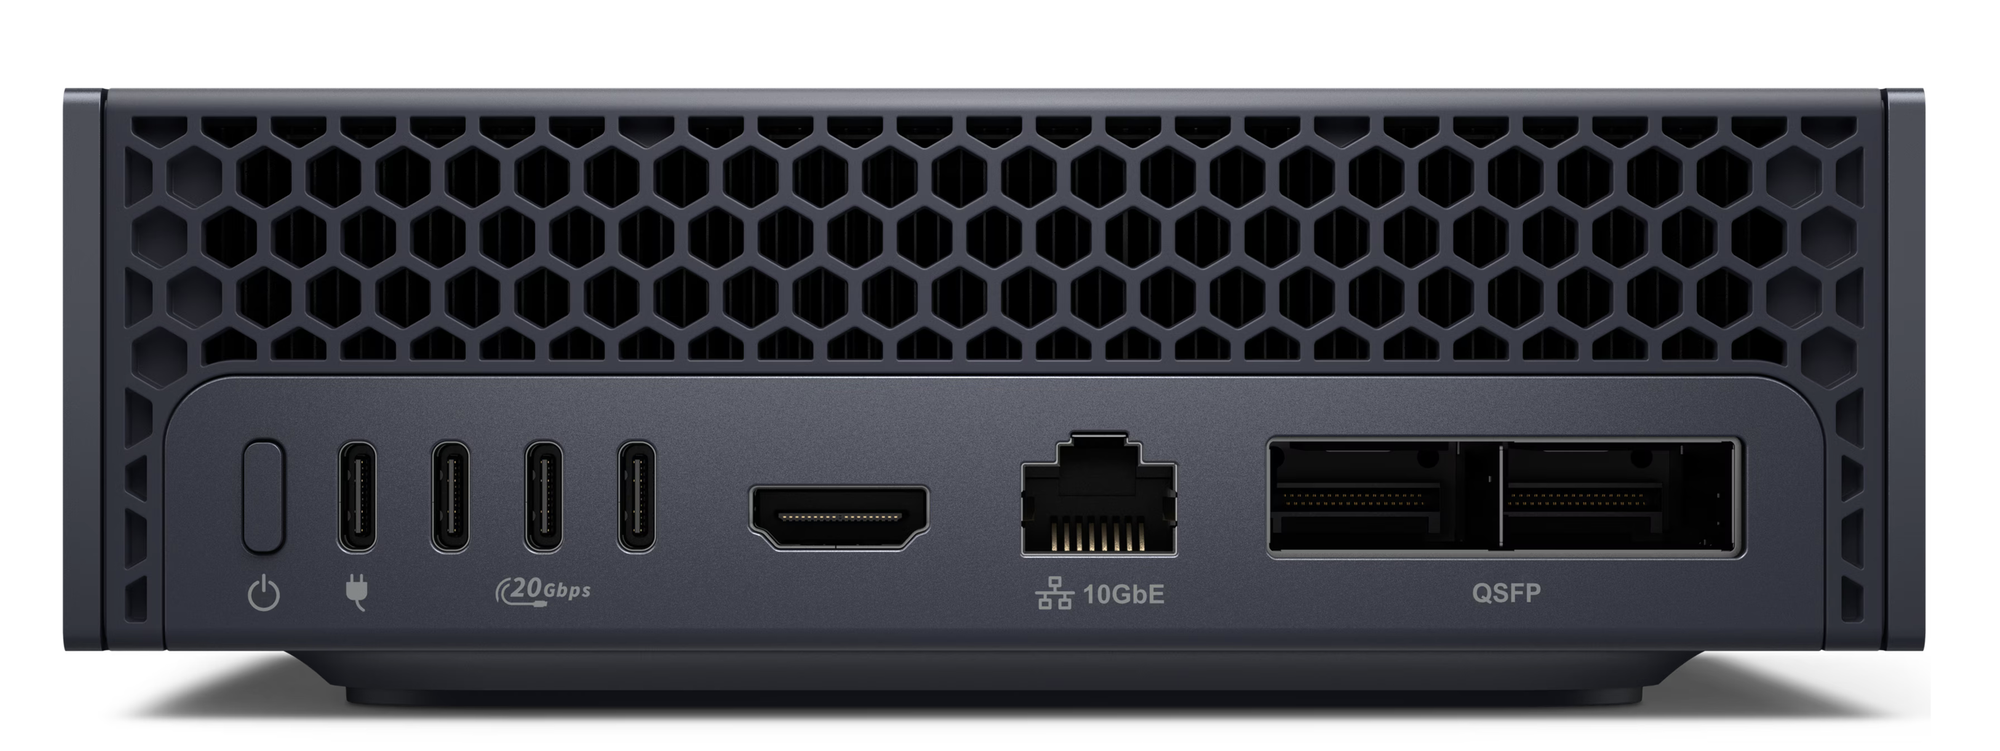
Unified memory means that the CPU and GPU share one memory pool. I am not limited by a 24 GB VRAM ceiling, and I can load a 65 GB model without moving parts of it between GPU and system memory. The model stays in memory, with room left for the operating system and other services.
In my previous post I built a fully on-premises AI assistant. It ran on a laptop and had to share memory with my browser, IDE and everything else I used.
I moved my Hermes Agent from the MacBook to the GB10 and configured it to run gpt-oss:120b locally. This article covers the setup, the problems I found and how I access the agent remotely.
Why move an agent off a laptop
I had been running Hermes on an M3 Max with 48 GB. It worked well when I used it interactively, but scheduled jobs were unreliable.
One of the jobs runs every 10 minutes. A laptop may sleep, have its lid closed or move between networks. When that happened, the job did not run. I also had to use a 26B model so that the browser and IDE had enough memory.
The GB10 removes both limits:
| MacBook M3 Max | GB10 | |
|---|---|---|
| Memory for models | 48 GB, shared with everything | 128 GB, about 121.6 GiB usable |
| Largest practical model | ~26B | 120B, fully resident |
| Uptime | sleeps, travels | always on |
| Scheduled work | unreliable | actually runs |
The laptop becomes a thin client. The GPU lives in a cupboard and never sleeps.
What I can run on the GB10
The hardware changes how I can run a local LLM:
A 120B model that stays loaded. gpt-oss:120b uses 65 GB and stays in GPU memory between requests. The first token comes back in about a second. This avoids a 60-second model load whenever the 10-minute job runs.
A 131 072-token context window. I can use the full context with the 120B model. This is enough for large codebases, long document sets and extended conversations.
Local inference. The prompts and replies stay on my network. There is no API charge or external rate limit.
Remote access through Telegram. The gateway connects to Telegram, so I can use the agent from my phone without exposing an inbound port.
Reliable scheduled jobs. The GB10 stays on, so monitoring, summaries and checks run at the configured time.
A remote GPU development box. NVIDIA AI Workbench runs containerised CUDA projects on the GB10. I use JupyterLab and VS Code from the laptop.
Existing tools through the same API. Tools that support the OpenAI or Ollama API, such as Cursor, Continue, Zed and Open WebUI, can use the GB10 through an SSH tunnel to localhost:11434.
The build
Target architecture:
| |
Two independent paths in. Telegram needs no VPN and works from a phone. Tailscale gives full shell and tooling access. If one breaks, the other still reaches the machine, which matters for a headless box you may be far away from.
The stack:
| Hardware | NVIDIA GB10 · 20 cores · 128 GB unified, about 121.6 GiB usable |
| OS | DGX OS 7 (Ubuntu 24.04.4 LTS) · kernel 6.17.0-1031-nvidia · aarch64 |
| Driver | 580.173.02 · CUDA 13 |
| Inference | Ollama 0.32.15 · gpt-oss:120b · 131 072 ctx |
| Agent | Hermes Agent 0.20.x · systemd user service |
| Network | Tailscale 1.102.3 |
1. Getting in
The Spark runs DGX OS. Ubuntu underneath, ARM64, with NVIDIA’s driver stack preinstalled. Out of the box it takes you through a setup wizard, pulls system updates, and reboots itself.
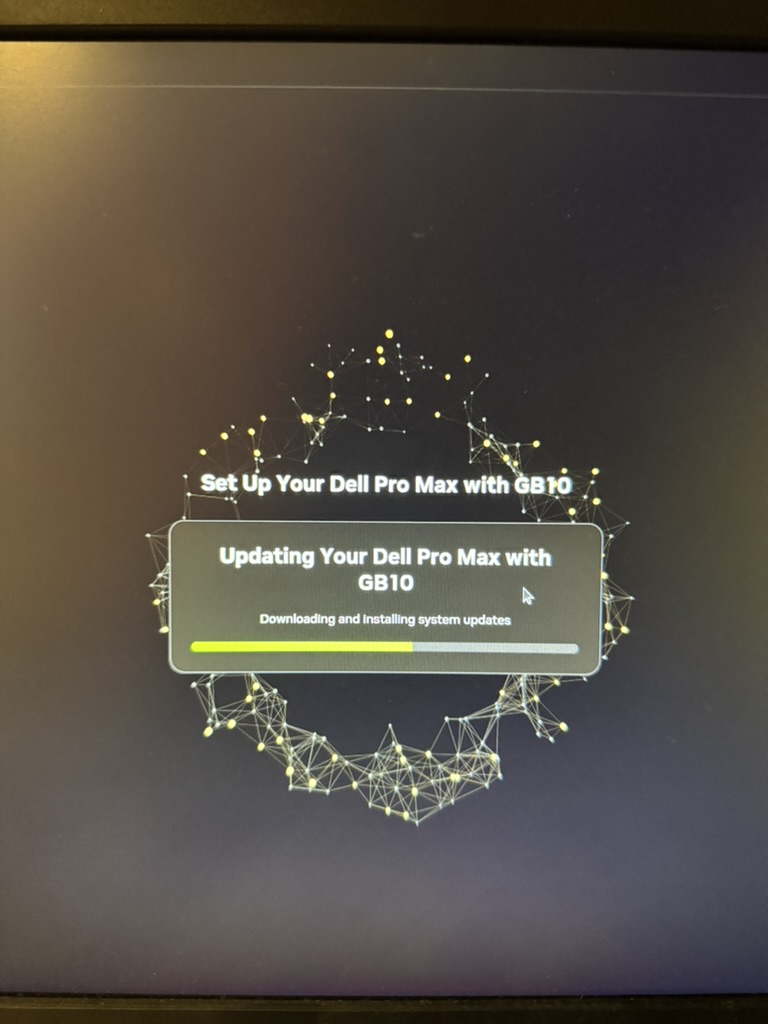
First boot: the wizard fetches updates before it will let you in.
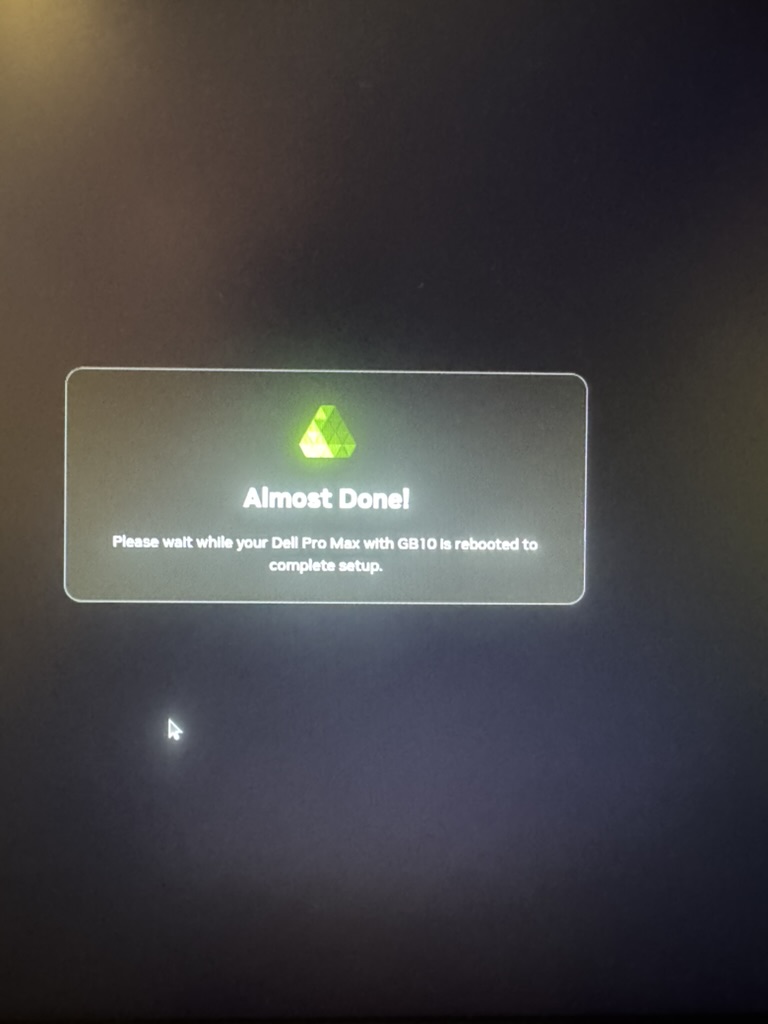
Let it finish the reboot. After this it is on your LAN with SSH running, and you can unplug the monitor for good.
This was the only time I needed a screen attached. After SSH worked, I disconnected the screen and managed the machine over the network.
Find it by its SSH banner rather than by IP, since DHCP will move it:
| |
Then push a key and stop typing passwords:
| |
Use the mDNS name, not a static IP. avahi-daemon is already running, so yourbox.local resolves and follows the machine wherever DHCP puts it. Assigning a static address means guessing where your DHCP pool ends. On a /22 that is a thousand addresses and a future address conflict. Tailscale later makes this unnecessary, but it is the right default from minute one.
2. Ollama and the model
| |
Ollama detects the GB10 correctly. In the logs you will see it skip cuda_v12, because the GPU is newer than that build’s targets, and fall back to cuda_v13. That is correct behaviour, not an error. It reports total=121.6 GiB, available=115.9 GiB.
Now configure model residency:
| |
OLLAMA_KEEP_ALIVE=-1 pins the model in memory forever. The default unloads after 5 minutes idle, which against a job running every 10 minutes means reloading 65 GB from disk on every single run. This one line is the difference between a responsive agent and a machine permanently busy loading weights.
Correction (August 2026).
OLLAMA_KEEP_ALIVEis a host-wide setting, not a per-model one. Set to-1at the systemd level it pins every model Ollama loads, indefinitely. That is what you want for a single always-warm model, and wrong as soon as there is a second one. Adding a second model later cost me 10.9 GB held by something I was no longer using, and no amount of “unpin” in an application would release it, because nothing in any application was doing the pinning. If you run more than one model, use a real timeout (5m) and warm the model you care about deliberately. Details in the follow-up post.
| |
Year 2318. That is what “never unload” looks like.
OLLAMA_HOST=0.0.0.0 makes the model reachable from Docker containers as well as loopback, which is needed for Workbench projects later. Be deliberate here. Ollama has no authentication, so this exposes your GPU to anything that can reach port 11434. On a trusted LAN behind a mesh VPN that is fine. On untrusted Wi-Fi, firewall it to the docker bridge.
Verify:
| |
3. Hermes Agent
Install, then point it at the local model:
| |
Two things save money and surprise here.
Set a placeholder API key. Hermes validates credentials before it connects, so provider: openai-api requires OPENAI_API_KEY even though Ollama neither needs nor checks one. Without it, every request fails with “Provider authentication failed” against a server that would have answered without complaint:
| |
Route the auxiliary models locally too. Hermes uses smaller models for context compression and skill selection. Left alone, those quietly route to a paid provider while your main model runs free and local:
| |
Run ollama pull qwen3:8b and the whole stack is local.
If you are migrating an existing agent, copy SOUL.md, skills/, memories/, cron/jobs.json and the databases across. But never cp a live SQLite file. WAL mode means the .db alone is an inconsistent snapshot. Use sqlite3 src ".backup dest" and verify with PRAGMA integrity_check.
4. Always-on
| |
enable-linger is the important one. Without it, user services stop when you log out, which for a headless box means immediately.
The gateway runs both the messaging adapters and the cron scheduler, so this single service is the agent’s whole always-on presence.
5. Telegram
Hermes has a pairing flow that creates the bot and configures the allowlist:
| |
It prints a link. Install qrcode in the venv and you get a scannable QR code instead. The link expires in about 180 seconds, so have your phone ready before you start. My first attempt timed out.
The agent is reachable without port forwarding or a public IP because the GB10 connects out to Telegram and keeps the connection open. This worked well for quick questions from my phone.
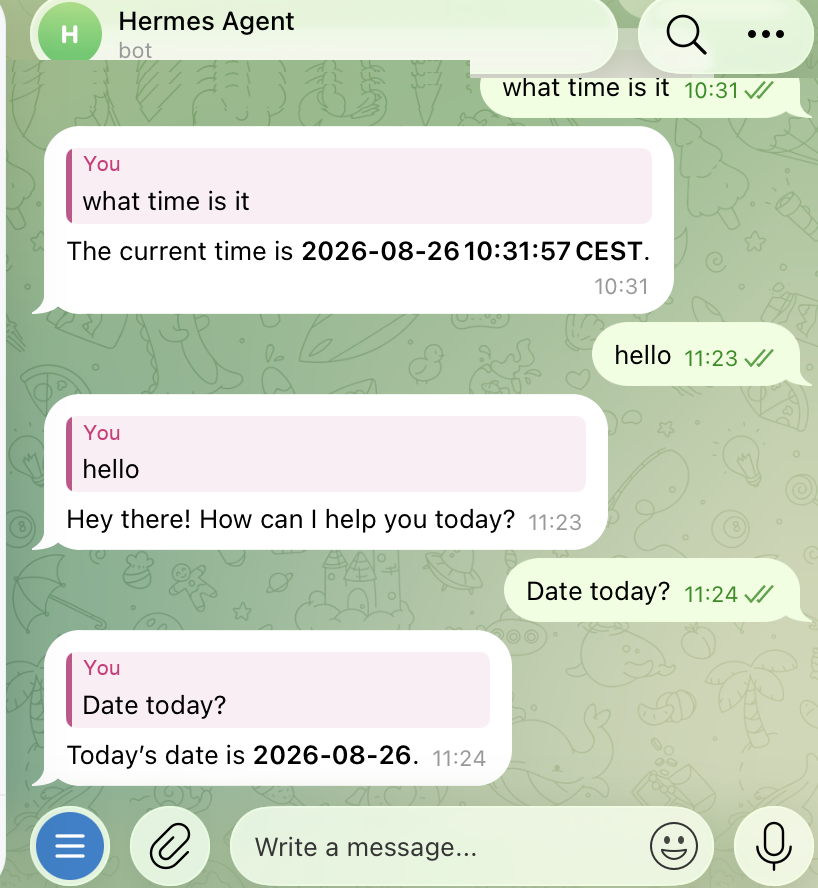
Every one of these replies was generated by gpt-oss:120b on the GB10. No API, no cloud, no data leaving the house.
I can now send a question from my phone and have the GB10 answer it at home.
Add a watchdog. The Telegram adapter can lose its polling loop after a network blip while the process stays alive and systemd still reports active. Health-check the work, not the process:
| |
Run it on a systemd timer every 5 minutes. Two things are worth knowing. Use getWebhookInfo, never getUpdates. Telegram allows one polling consumer per bot, so calling getUpdates yourself takes the session from your own adapter and creates the errors you are trying to detect. And recovery is lossless, because Telegram keeps undelivered updates for about 24 hours, so a restart replays the queue.
6. Tailscale
Everything so far works on the LAN. Tailscale makes it work everywhere.
It is a WireGuard mesh. Both machines dial out to a coordination server, then connect directly. Nothing inbound, nothing exposed to the internet, and devices authenticate each other. Compared to forwarding port 22 to the world and adding dynamic DNS on top, it is not a close call.
| |
On macOS you will be asked to approve a system extension. That is what lets Tailscale create the network interface it routes tailnet traffic over. VPN Configuration is granted during install, and the extension needs a manual approval in System Settings.
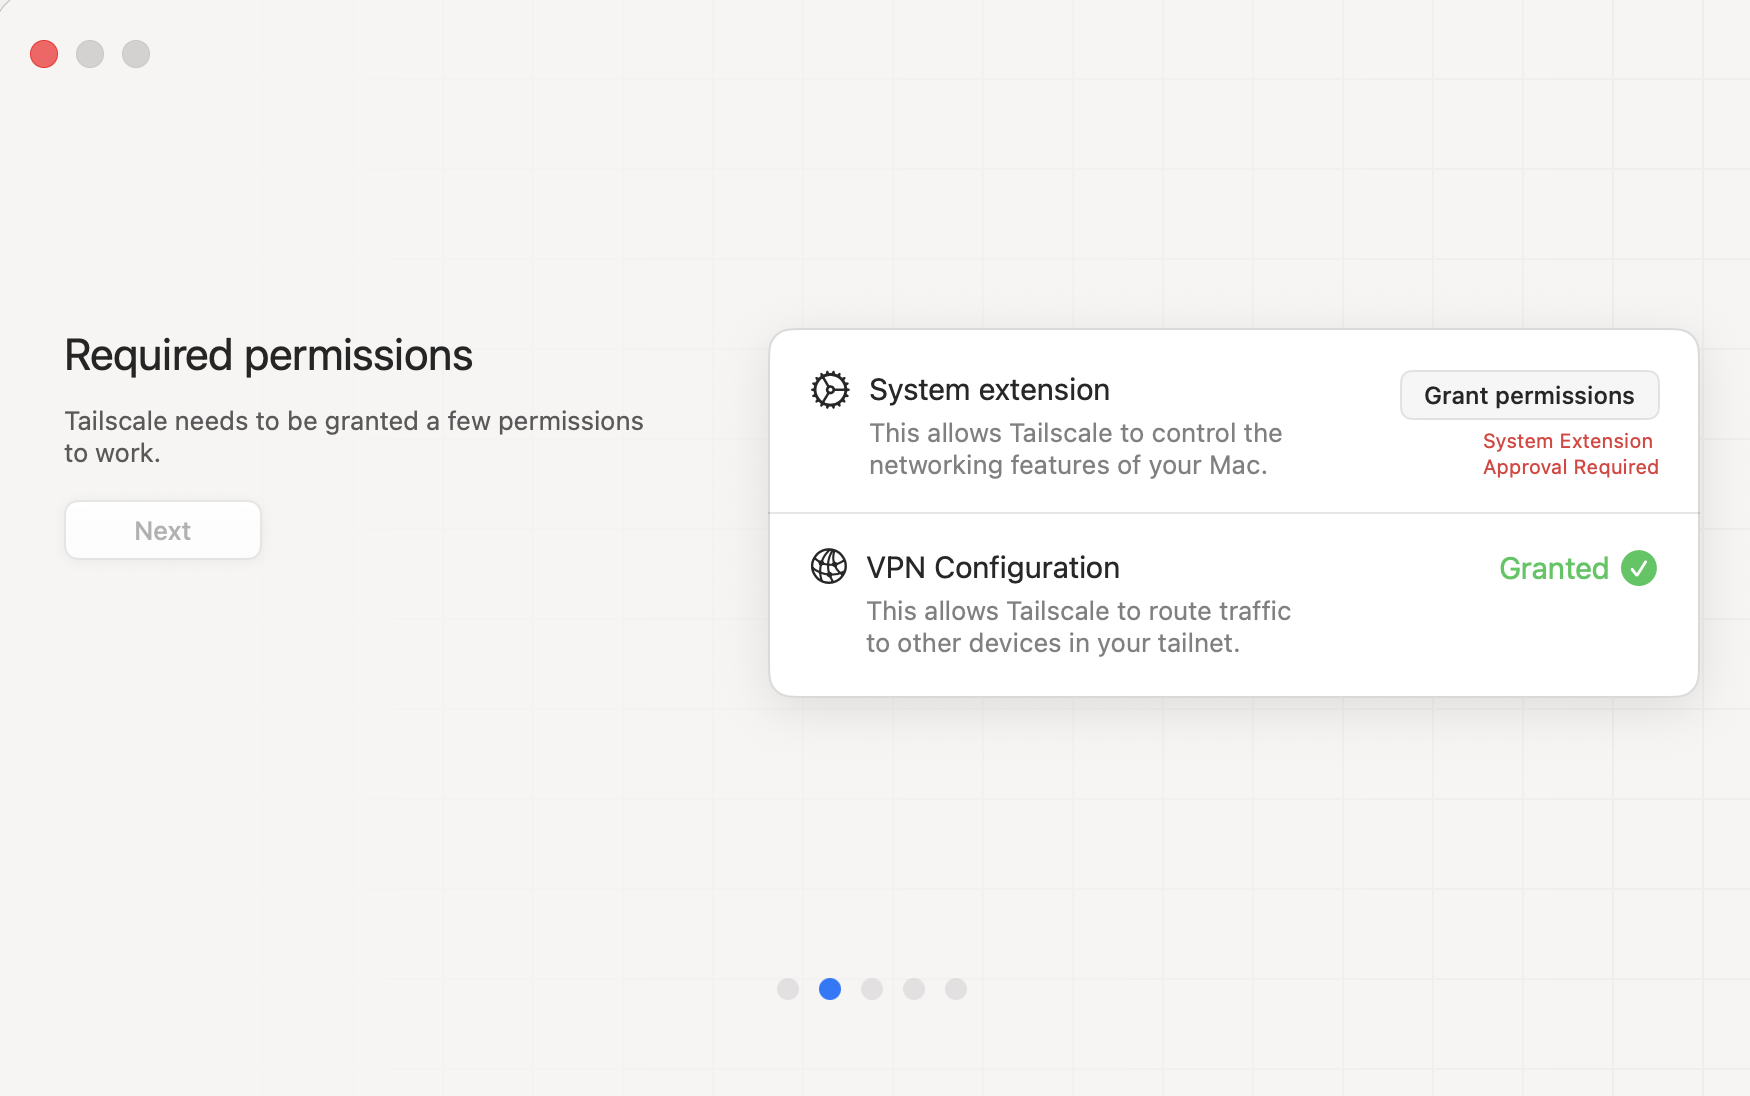
Approve the system extension. If the app appears to hang afterwards, quit and relaunch it. It needs a restart to pick up the newly-installed extension.
| |
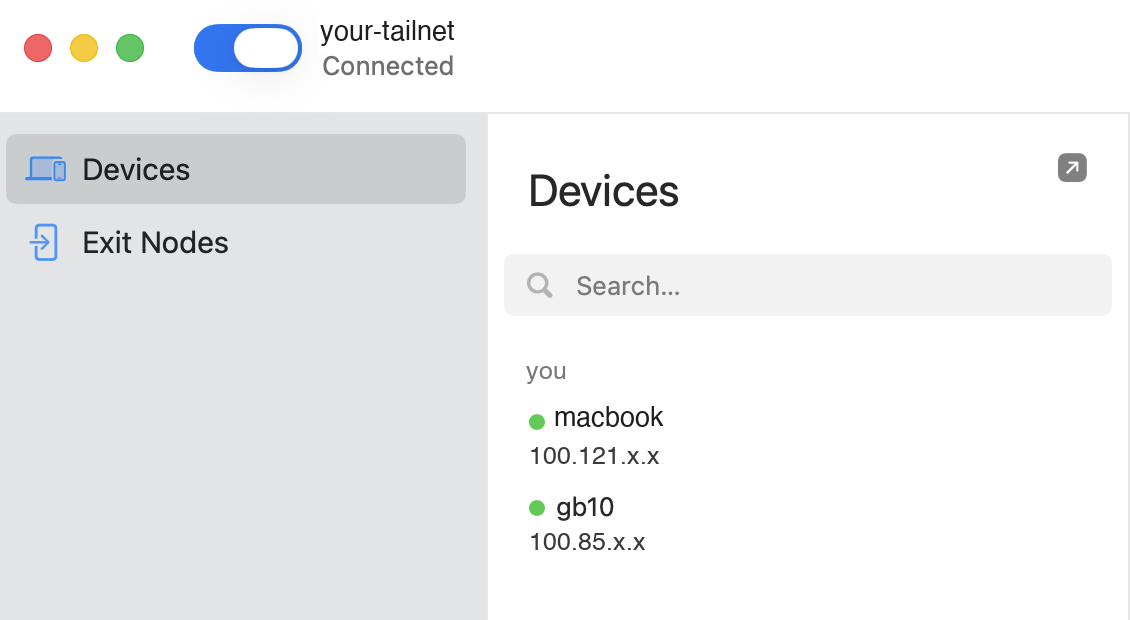
Two devices, two permanent addresses. These do not change, not when DHCP reshuffles, and not when I am on another continent.
Note the via a LAN address. On the same network it connects directly rather than relaying. You do not pay a detour for being at home.
Then point everything at the stable name:
| |
Now ssh gb10 and localhost:11434 work the same way at home and abroad.
Disable key expiry in the Tailscale admin console. Device keys expire after about 180 days by default. On a headless server that is a lockout, because re-authenticating needs
sudo tailscale upon the machine itself. Do it at setup, not while travelling.
One bonus: the tailnet address is permanently stable, so DHCP can reshuffle the LAN as much as it likes and nothing you have configured breaks.
7. NVIDIA AI Workbench
DGX OS ships Workbench preinstalled. Install the desktop app on your laptop and add the Spark as a Manual SSH remote location, reusing the key you already have rather than letting NVIDIA Sync generate a second one. You then get containerised GPU projects on the Spark, driven from the laptop.
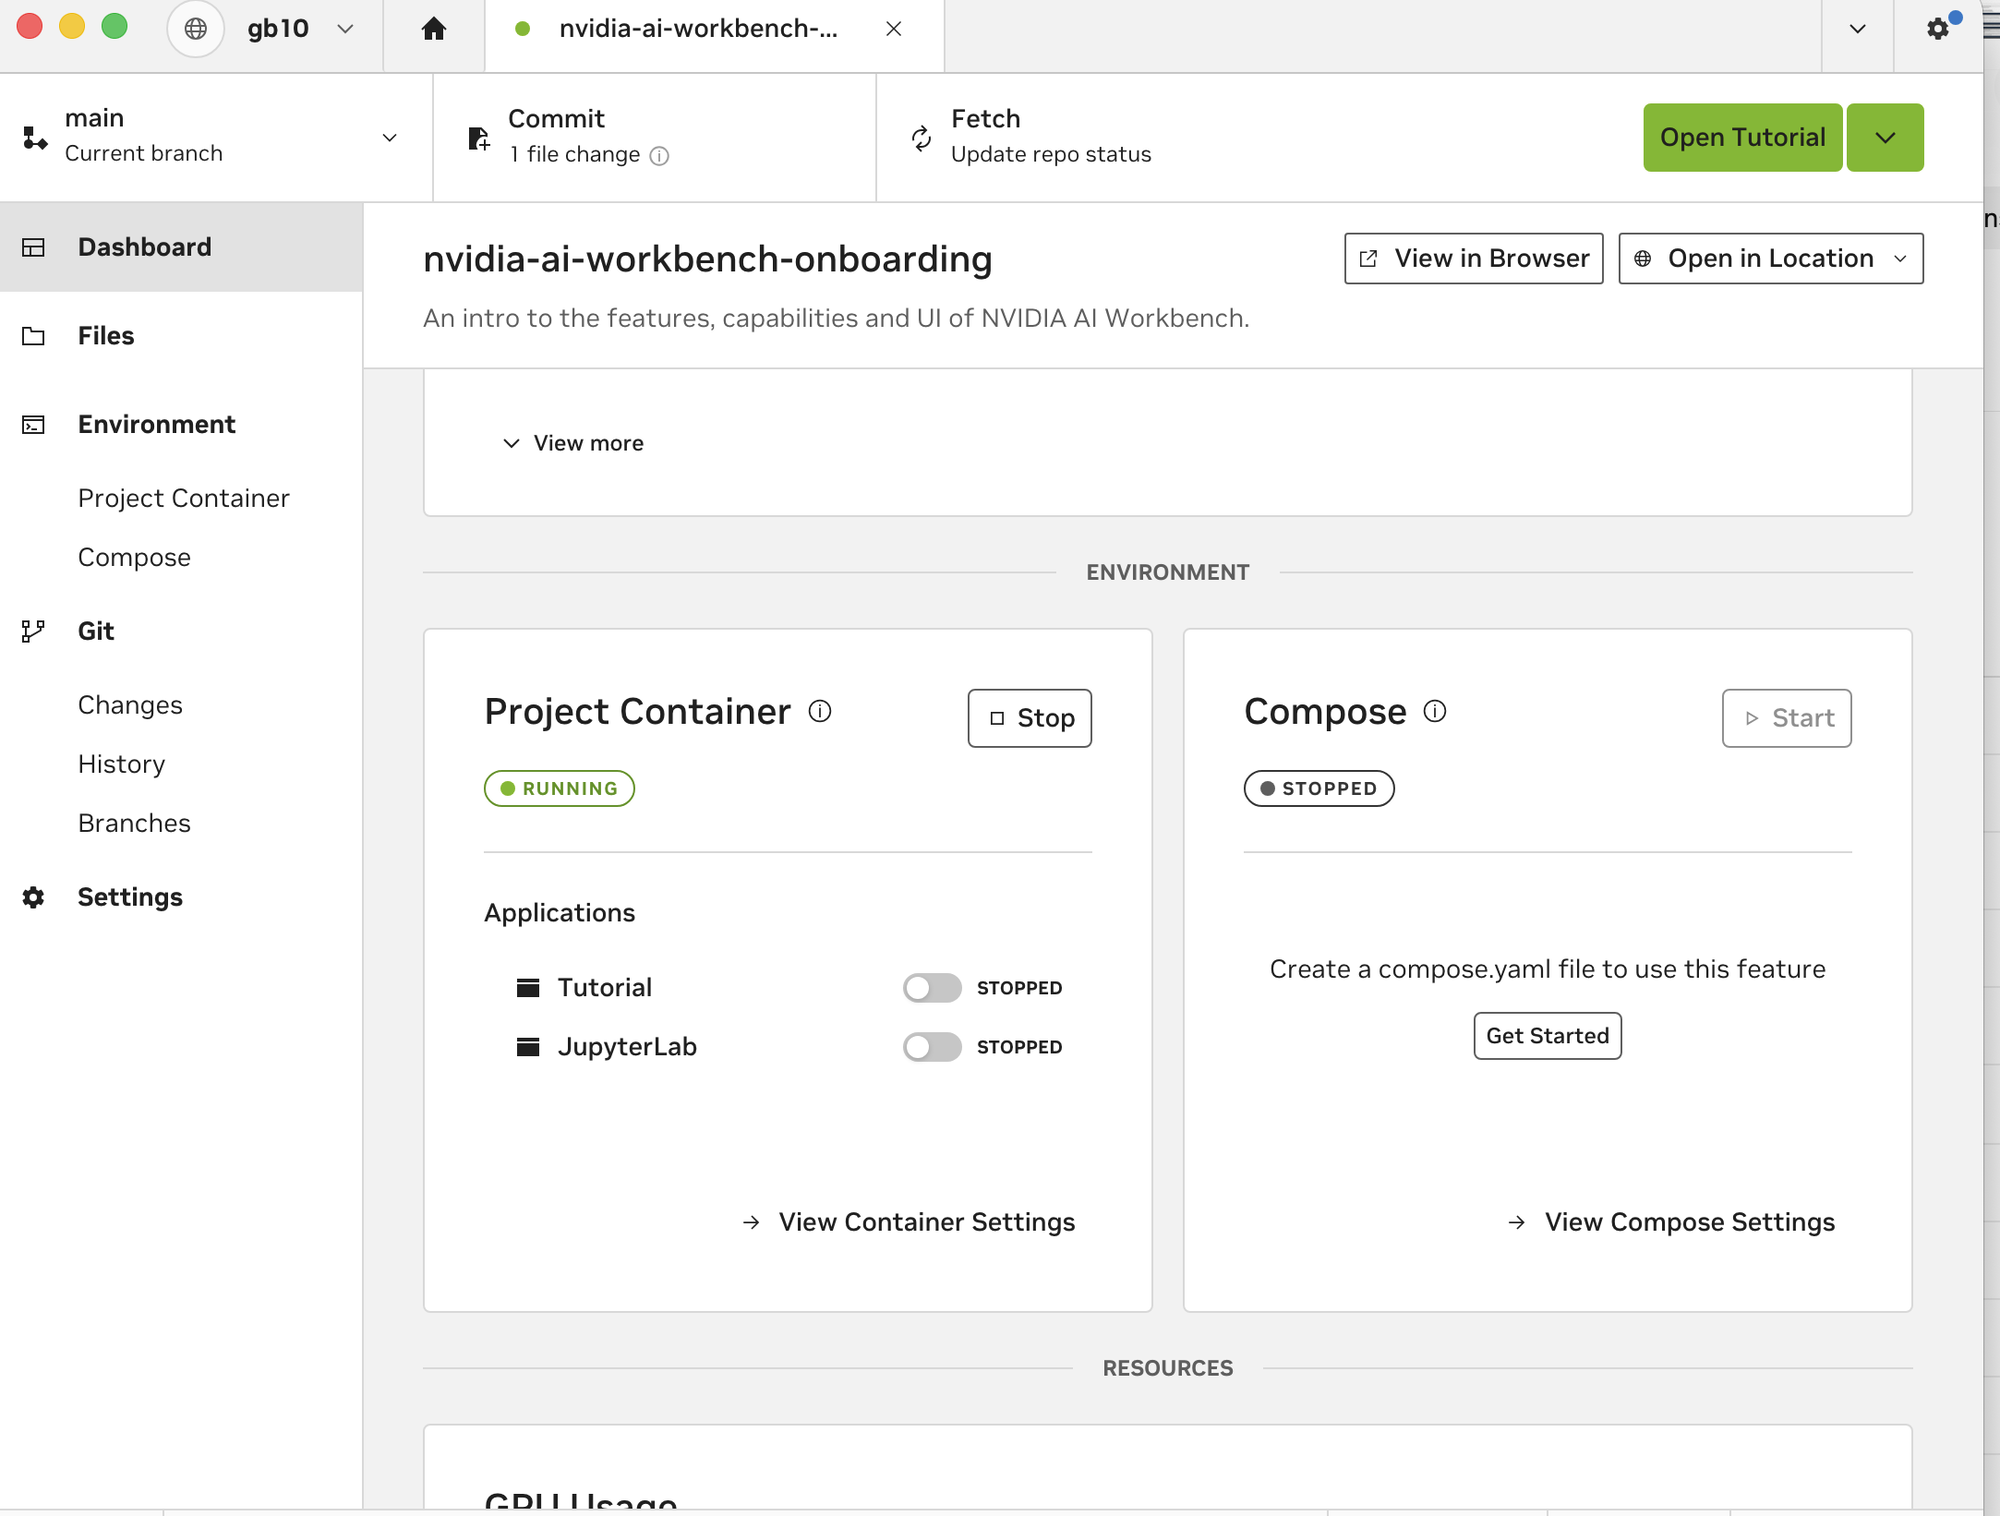
The project container runs on the Spark, and the UI runs on the laptop. Note the location selector reading gb10. JupyterLab and the tutorial launch straight into the GPU.
Point it at the tailnet hostname and it works from anywhere too.
Inside a project container, the model lives at http://host.docker.internal:11434, not localhost, which is the container itself. This is why OLLAMA_HOST=0.0.0.0 earlier mattered. Bound to loopback, Ollama is invisible to Docker’s bridge network.
The result
| |
- A 120B model resident in GPU memory, permanently warm, 131 k context
- An agent reachable by text message from anywhere on earth
- Scheduled jobs that actually run, every 10 minutes, forever
- Full shell, dashboard and containerised GPU dev from any network
- Zero API spend, zero data leaving the building
- 43 GB freed on the laptop, now a thin client
Gotchas worth knowing
None of these were hard once identified. But several of them show misleading errors, so they are worth recognising on sight.
no route to host on macOS may be a privacy setting. macOS 15+ requires apps to be granted Local Network access, and a denial shows up as EHOSTUNREACH, which looks identical to a genuine network fault. The tell is that ping and ssh work, because Apple’s platform binaries are exempt, while third-party tools insist the host is unreachable. Go to System Settings, then Privacy & Security, then Local Network. Tailscale avoids the problem entirely, since tailnet traffic is not “local network”.
systemctl is-active answers the wrong question. It reports whether a process is alive, not whether it is doing its job. Both silent failures I hit, the Telegram stall and a misconfigured provider, happened under a green service. Health-check end-to-end.
DHCP will move the machine. Mine drifted from .62 to .80 and another device with a randomised MAC took the old lease. Use mDNS, then tailnet names. Every address I hard-coded eventually became wrong.
ollama list can disagree with the API. Straight after a pull it may return empty while /api/tags shows the model present. Trust the API.
Restarting Ollama evicts the model. KEEP_ALIVE pins it after load, so warm it deliberately after any restart rather than letting a user find the 60-second reload.
Ubuntu’s .bashrc returns early for non-interactive shells. ssh host 'mytool' fails with “command not found” even though the PATH export is right there in the file, because execution never reaches it. Use absolute paths over SSH.
SSH tunnel noise is harmless. With a background tunnel already holding the ports, every following command prints bind: Address already in use. The first connection owns them. The rest complain and work fine.
macOS ships rsync 2.6.9, which is from 2006 and rejects modern flags. Install a current one before migrating anything large.
Next
The remaining physical change is the network connection. The GB10 is on Wi-Fi, where I measured LAN latency between 7 and 201 ms. I plan to connect it by cable before using it for more file synchronisation.
I also plan to add more scheduled jobs. Running a 120B model locally is useful, but keeping it loaded and available is what made the automation practical for me.
Dell Pro Max GB10 · DGX OS 7 / Ubuntu 24.04.4 · Hermes Agent with Ollama and gpt-oss:120b. Identifiers changed.